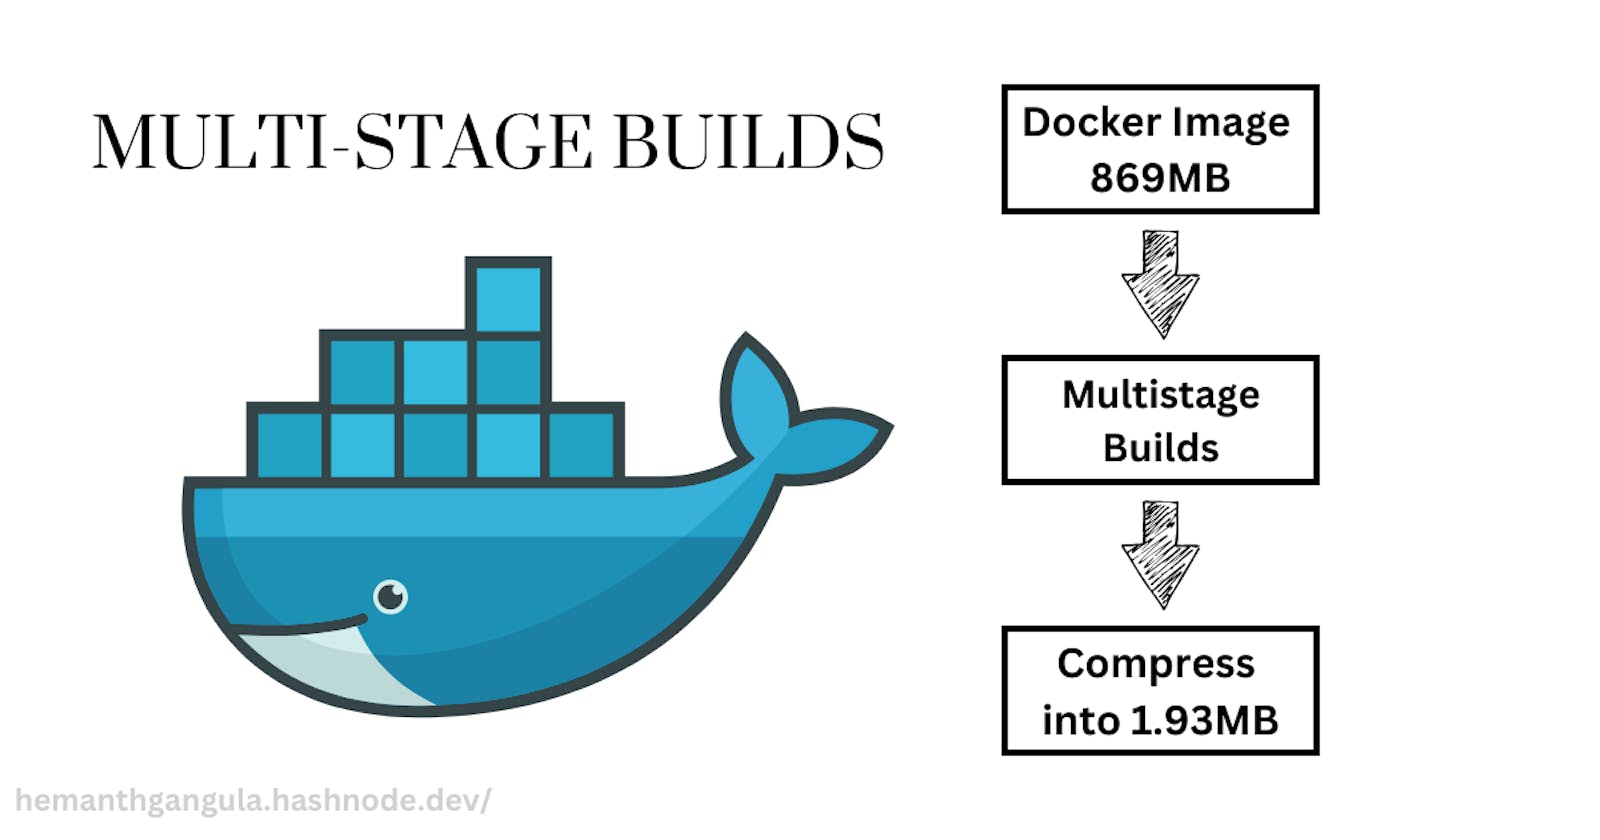
Introduction: Docker has revolutionized how developers build, ship, and run applications by providing a consistent environment across different platforms. One of the powerful features Docker offers is multi-stage builds, which allow you to optimize your Docker images and improve performance. In this article, we'll walk through the process of setting up a Task Manager application in Docker using multi-stage builds, step-by-step.
Understanding the Mechanism of Multi-Stage Builds in Docker
Multi-stage builds in Docker streamline the image creation process by dividing it into multiple stages, each with its own set of instructions. The initial stages typically handle building dependencies and compiling application code, while subsequent stages copy only the necessary artifacts from previous stages.
This results in smaller and more efficient final images, as unnecessary files and dependencies are discarded along the way. By using lightweight base images in later stages, multi-stage builds reduce image size, improve performance, and enhance security by minimizing the attack surface. Overall, multi-stage builds provide a powerful solution for optimizing Docker images, particularly for complex applications with diverse dependencies.
Note: For demonstration purposes, the tutorial utilizes a task manager application written in the Go language. However, the concepts and techniques discussed can be applied to optimize Docker images for any application, regardless of the programming language used.
Step 1: Clone the Repository
Open your terminal or command prompt.
Run the following command to clone the repository:
git clone https://github.com/HemanthGangula/task-manager-in-dockerThis command will create a
task-manager-in-dockerdirectory containing the necessary files for building the Docker image.You also have the option to create your own folder named "task_manager." Below, you'll find the code for the files "task_manager.go" and "Dockerfile."
task_mangager.go
     package main

     import (
             "bufio"
             "fmt"
             "os"
             "strconv"
             "strings"
     )

     type Task struct {
             ID       int
             Name     string
             Complete bool
     }

     var tasks []Task
     var taskIdCounter int

     func main() {
             reader := bufio.NewReader(os.Stdin)
             for {
                     fmt.Println("Task Manager")
                     fmt.Println("1. Add Task")
                     fmt.Println("2. List Tasks")
                     fmt.Println("3. Mark Task as Complete")
                     fmt.Println("4. Exit")
                     fmt.Print("Enter your choice: ")

                     choice, _ := reader.ReadString('\n')
                     choice = strings.TrimSpace(choice)

                     switch choice {
                     case "1":
                             fmt.Print("Enter task name: ")
                             taskName, _ := reader.ReadString('\n')
                             taskName = strings.TrimSpace(taskName)
                             addTask(taskName)
                     case "2":
                             listTasks()
                     case "3":
                             fmt.Print("Enter task ID to mark as complete: ")
                             taskIDInput, _ := reader.ReadString('\n')
                             taskIDInput = strings.TrimSpace(taskIDInput)
                             taskID, err := strconv.Atoi(taskIDInput)
                             if err != nil {
                                     fmt.Println("Invalid task ID")
                                     continue
                             }
                             markTaskAsComplete(taskID)
                     case "4":
                             fmt.Println("Exiting...")
                             os.Exit(0)
                     default:
                             fmt.Println("Invalid choice. Please try again.")
                     }
             }
     }

     func addTask(name string) {
             taskIdCounter++
             task := Task{
                     ID:       taskIdCounter,
                     Name:     name,
                     Complete: false,
             }
             tasks = append(tasks, task)
             fmt.Println("Task added successfully.")
     }

     func listTasks() {
             if len(tasks) == 0 {
                     fmt.Println("No tasks.")
                     return
             }
             fmt.Println("Tasks:")
             for _, task := range tasks {
                     completeStatus := "Incomplete"
                     if task.Complete {
                             completeStatus = "Complete"
                     }
                     fmt.Printf("ID: %d, Name: %s, Status: %s\n", task.ID, task.Name, completeStatus)
             }
     }

     func markTaskAsComplete(id int) {
             found := false
             for i, task := range tasks {
                     if task.ID == id {
                             tasks[i].Complete = true
                             fmt.Println("Task marked as complete.")
                             found = true
                             break
                     }
             }
             if !found {
                     fmt.Println("Task not found.")
             }
     }
task_manager.go
     ###########################################
     # BASE IMAGE FOR BUILD STAGE
     ###########################################

     FROM ubuntu:latest AS build

     # Install Go
     RUN apt-get update && apt-get install -y golang-go

     # Set the environment variable to disable Go modules
     ENV GO111MODULE=off

     # Set the working directory inside the container
     WORKDIR /app

     # Copy the local package files to the container's workspace
     COPY . .

     # Build the Go app
     RUN CGO_ENABLED=0 go build -o /app/task_manager .

     ###########################################
     # FINAL IMAGE
     ###########################################

     FROM scratch

     # Copy the executable from the build stage to the final image
     COPY --from=build /app/task_manager /app/task_manager

     # Set the entrypoint for the container
     ENTRYPOINT ["/app/task_manager"]
Step 2: Build the Docker Image
Navigate into the cloned directory:
cd task-manager-in-docker
Run the Docker build command to build the Docker image:
docker build -t task-manager .This command reads the instructions from the
Dockerfilein the directory and builds the Docker image namedtask-manager.
Step 3: View the Docker Image
Once the build process is complete, you can view the list of Docker images by running:
docker imagesThis command will display the
task-managerimage among the list of Docker images on your system.In the image below, before implementing Multi-Stage Builds in Docker, the image named 'taskmanager' had a size of 869MB. After utilizing Multi-Stage Builds to create another image named 'taskmanager_multistage', the image size drastically reduced to 1.82MB.

I've deployed my Docker image on Docker Hub.
Explore my Docker image here:
Uncover the possibilities and ignite your imagination!
In conclusion, this article has showcased the process of optimizing your project using Docker multi-stage builds, using a task manager application written in Go as an example. By harnessing multi-stage builds, you can craft smaller, more efficient Docker images, leading to expedited build times and heightened performance. Integrating Docker into your development workflow not only streamlines the deployment process but also simplifies application management across various environments, empowering your development journey.
